


When The Wandering Minstrel was first spoiled, a lot of players were hyped about its potential inclusion in Amulet Titan decks. Even ignoring all the Towns shenanigans associated with it, a two-drop that lets your Lands enter untapped is quite the card.
Not only is The Wandering Minstrel already showing up in some Amulet Titan decklists, it’s also making some noise in Pioneer Scapeshift! This deck is capable of Milling your opponent out in one turn, forcing them to lose by drawing from an empty library. If you enjoy unusual combo archetypes, Pioneer Scapeshift could be right up your alley.
The Combo
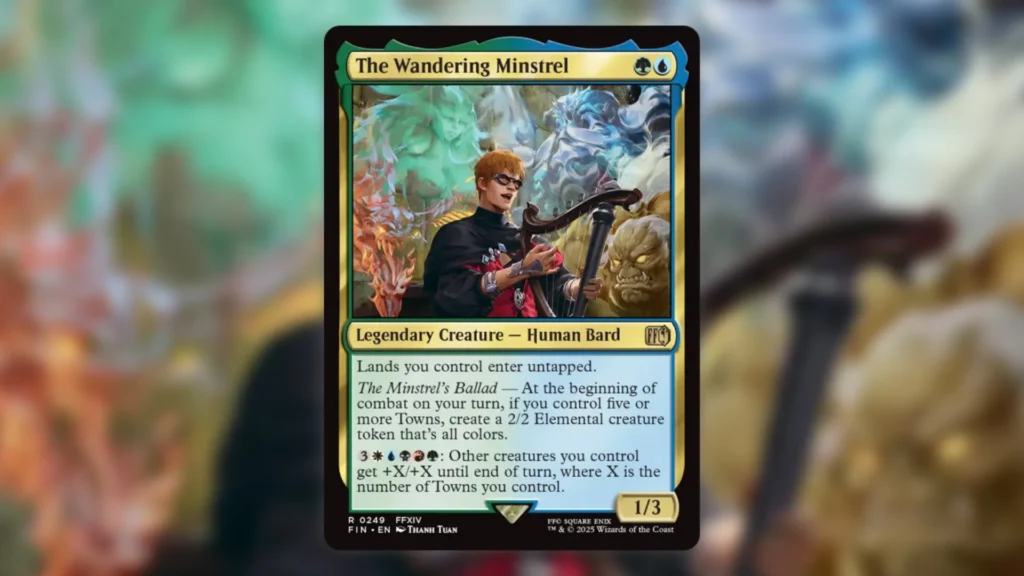
This iteration of Pioneer Scapeshift revolves around a few key cards. The first group of cards are those that allow your lands to enter untapped. Prior to the printing of The Wandering Minstrel, Spelunking was your best bet. Now, this deck gets to use both the enchantment and the creature, adding some much-needed redundancy.
The second piece of the puzzle is Scapeshift. Scapeshift allows you to convert any number of lands you control into a new pile of lands from your library. Notably, you don’t have access to a simple win condition amongst your lands like Valakut, the Molten Pinnacle in Pioneer, so you’re forced to jump through some hoops to actually win the game.
This is where the third essential card comes into play: Lumra, Bellow of the Woods. Lumra allows you to bring back all lands from your graveyard to play. This includes any lands you sacrifice to Scapeshift or to copies of Lotus Field that you find with Scapeshift.
Thanks to Spelunking and The Wandering Minstrel, you’ll have no shortage of mana after casting Scapeshift, so casting Lumra is trivial. In order to actually end the game from here, you’ll want to use Scapeshift to search for multiple copies of Lotus Field, Arid Archway, and grab your one-of Otawara, Soaring City.
This way, you’ll generate a ton of mana and can use Arid Archway to bounce Otawara to your hand. After sacrificing lands to your Lotus Fields, you’re free to resolve Lumra, bringing them all back. You’ll have plenty of mana to bounce Lumra with Otawara, recast Lumra, bring all your lands back once again, bounce Otawara with Arid Archway, and repeat this process.
Eventually, Lumra will Mill over every land in your deck. As you continue this process, you’ll be able to win the game by sacrificing Ipnu Rivulet repeatedly, forcing your opponent to Mill their entire library and lose the game when they go to their next draw step.
These combo lines are undoubtedly a bit convoluted, but you’d be surprised how consistent this deck is once you’re able to find all the pieces of your combo. Plus, you have some nice support elements that make finding and casting your potent six-drop Bear easy.
Ramp and Tutors

In order to maximize your combo gameplan, you need ways to both speed things up and find your combo pieces. To help you execute your combo at a reasonable pace, this deck makes use of some solid ramp cards.
At two mana, Glimpse the Core is a solid ramp option that accelerates you towards Lumra a turn faster. Most of the time, Glimpse the Core will be used to tutor up a basic Forest to play. Remember, though, that sometimes you’ll want to return Echoing Deeps from your graveyard to the battlefield instead.
At three mana, Nissa, Resurgent Animist is capable of producing a lot of mana at once. With Nissa in play, you’re able to execute your combo ahead of schedule.
Nissa also synergizes well with Brokers Hideout, Glimpse the Core, and any other effect that enables you to have two lands enter during the same turn. Aftermath Analyst being an Elf and Lumra being an Elemental means that Nissa does a good job digging for your payoffs.
Besides Nissa, Nature’s Rhythm plays an important role here as well when it comes to finding your combo pieces in a more consistent manner. Paying four mana to tutor up The Wandering Minstrel is a fine play.
Then, later in the game, you can use Nature’s Rhythm to grab Lumra. The Harmonize cost is rather hefty, but once you get your engine rolling with Scapeshift, you should have enough mana to recast Nature’s Rhythm without any major issues.
Areas of Concern

Overall, this Simic Scapeshift deck is still far from a top tier strategy even with the new inclusion of The Wandering Minstrel. The Wandering Minstrel definitely helps make the combo more reliable. The problem is that racing mono-red is still tough.
Any fast mono-red draw involving Monstrous Rage is difficult to beat, considering you don’t have access to removal spells in game one. If you can jam Nissa and have it stick, you may be able to win in short order, but even this isn’t guaranteed. A single Reckless Rage can answer Nissa or The Wandering Minstrel on the cheap, which doesn’t help the situation.
Outside of mono-red, this deck can also struggle versus decks like Azorius control that feature an array of Counterspells. After all, this deck plays 31 lands. If your action spells like Scapeshift and Lumra don’t resolve, you’re in trouble considering how much air is in the deck.
For those hoping for Simic Scapeshift to break out, you may first need the upcoming ban announcement at the end of the month to bring some major changes to the format. This archetype is really cool and flashy and there’s a lot of room for further innovation. With mono-red having such a big chokehold on Pioneer, though, playing a strategy with minimal interaction is unlikely to yield the best results.
Stick with us here at mtgrocks.com: the best site for Magic: The Gathering coverage!